
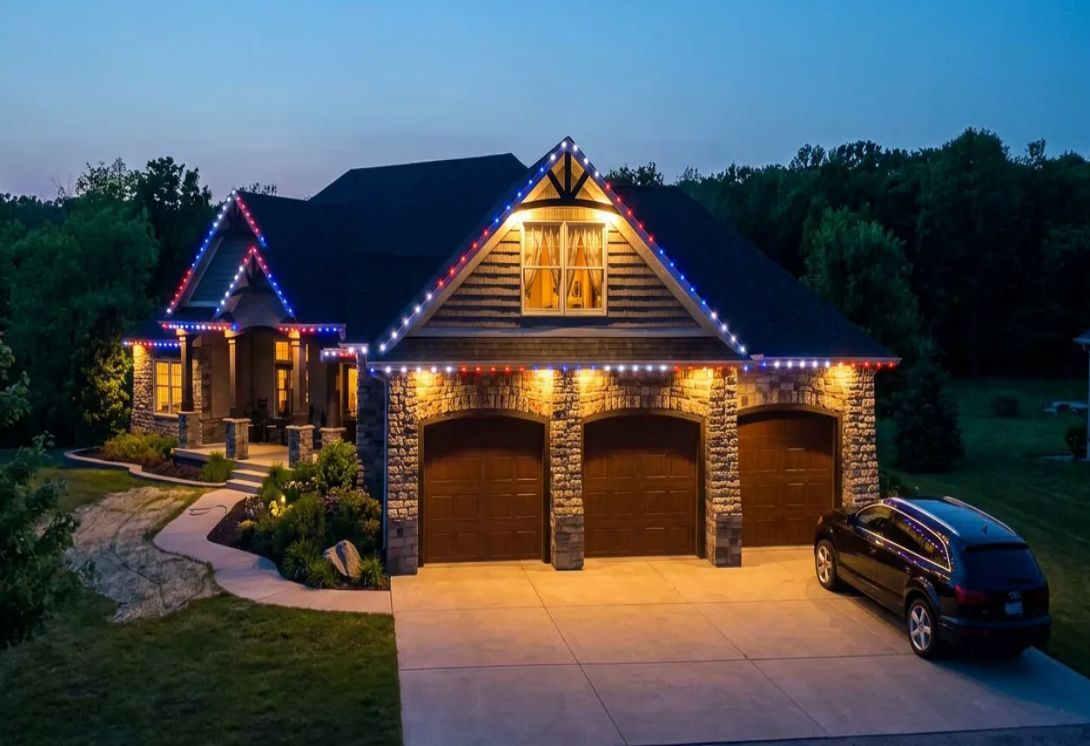
How to install permanent holiday lights
How a permanent lighting system goes up, from planning the runs to the first switch-on. Written for installers, and for homeowners fitting their own.
Before you start
You will need a tape measure, a chalk line, a drill or impact driver, a ladder rated for the job, and your parts. Check the voltage on every part matches before you begin. Electrical work beyond plugging in the power supply should be done by a licensed electrician.
-
Plan the layout
Walk around the building and decide which rooflines to light. Each continuous stretch of roofline is a run. Sketch the house, mark every run with its length, and note corners, peaks and gaps such as a garage set back from the house.
Decide where the controller and power supply will live: somewhere sheltered, such as a garage or mechanical room, close to a grounded outdoor-rated outlet. Then group the runs into zones. The 4-Channel Controller runs up to four zones, for example the front, each side and the gables, each with its own colours and schedules.
-
Measure and count the parts
Measure each run in feet. Track comes in 6.5 ft (2 m, 79 in) sticks with 10 mounting holes, so divide each run by 6.5 and round up. Corners and breaks start a new stick. A 100 ft front, for example, needs 16 sticks.
- Track screws: about 3 for every 6 ft of track, so 120 ft takes about 60 screws. They come in boxes of 100: round up to full boxes, and add a box when you would be left with fewer than 20 spare.
- Lights: the pucks sit 8 in apart, so plan about 1.5 lights per foot. The 5-Strand LED Puck comes five to a pack.
- Extensions: one to bring each run down to the controller, plus one for every corner, peak or gap the track does not follow.
- Connectors: a Y wherever one run splits into two, and a T at every power injection point.
The calculator below does this arithmetic for you.
-
Choose the voltage and size the power
Pick one voltage, 24 V or 48 V, for the whole system: lights, controller and power supplies must match. A 48 V system carries power farther along a run before it needs injecting, which suits long rooflines and commercial frontages.
Add up the load: each light draws 0.96 W, so 300 lights draw about 288 W. Choose a supply with headroom rather than running it near its limit; many installers keep the load to about 80% of the rating. In that example a 350 W supply would be over 80% loaded, so choose the 450 W option.
On long runs, plan power injection: on a 24 V system, bring in a fresh feed about every 50 ft so the last lights are as bright as the first. Call us for spacing on 48 V runs.
-
Mount the track
Start at the end nearest the controller. Snap a chalk line along the fascia or soffit so the run stays straight, then fix each stick through its mounting holes with 9/16 in track screws. Butt the sticks tight, follow every peak, and keep the cable channel facing the same way along the run.
Work safely: use a ladder rated for the job, set it on firm, level ground, and keep three points of contact. Do not work on a wet or icy roofline.
-
Fit the lights
Lay the strands into the track in order, starting from the controller end. Check which end of each strand is the input, usually marked on the lead, and keep every strand pointing the same way, away from the controller. Clip each puck in firmly so it sits flush with the track.
-
Connect, split and inject
Join runs with extension cables across corners, peaks and gaps. Use a Y connector where one run splits into two. At each injection point, tee into the run with a T connector and take an extension back to the power supply. Push every connector fully home, keep connections off the ground, and leave a drip loop so water runs away from them.
-
Wire the controller and power supply
Mount the controller and power supply indoors or in a sheltered spot, connect the supply to the controller, and plug it into a GFCI-protected outlet. If the job needs a new outlet, a new circuit or anything hard-wired, have a licensed electrician do it and follow your local electrical code.
-
Test and set up
Power on and check that every run lights from start to finish. If a section stays dark, check that the connector before it is fully seated and that the strand is facing the right way. Then set up zones, colours, scenes and schedules in the controller app, and show the owner how to change them.
Parts calculator
Enter the roofline you want to light. We work out the track, screws, lights, connectors and power, and you can add the lot to your order request.
An estimate for a typical job. We check every list before we invoice, and flag anything missing.
| Part | Qty | Total |
|---|---|---|
| Estimated parts total |
Send us your parts list.
Build an order request online, or call and read it out. We confirm stock and price, then send the invoice.
(647) 330-8261